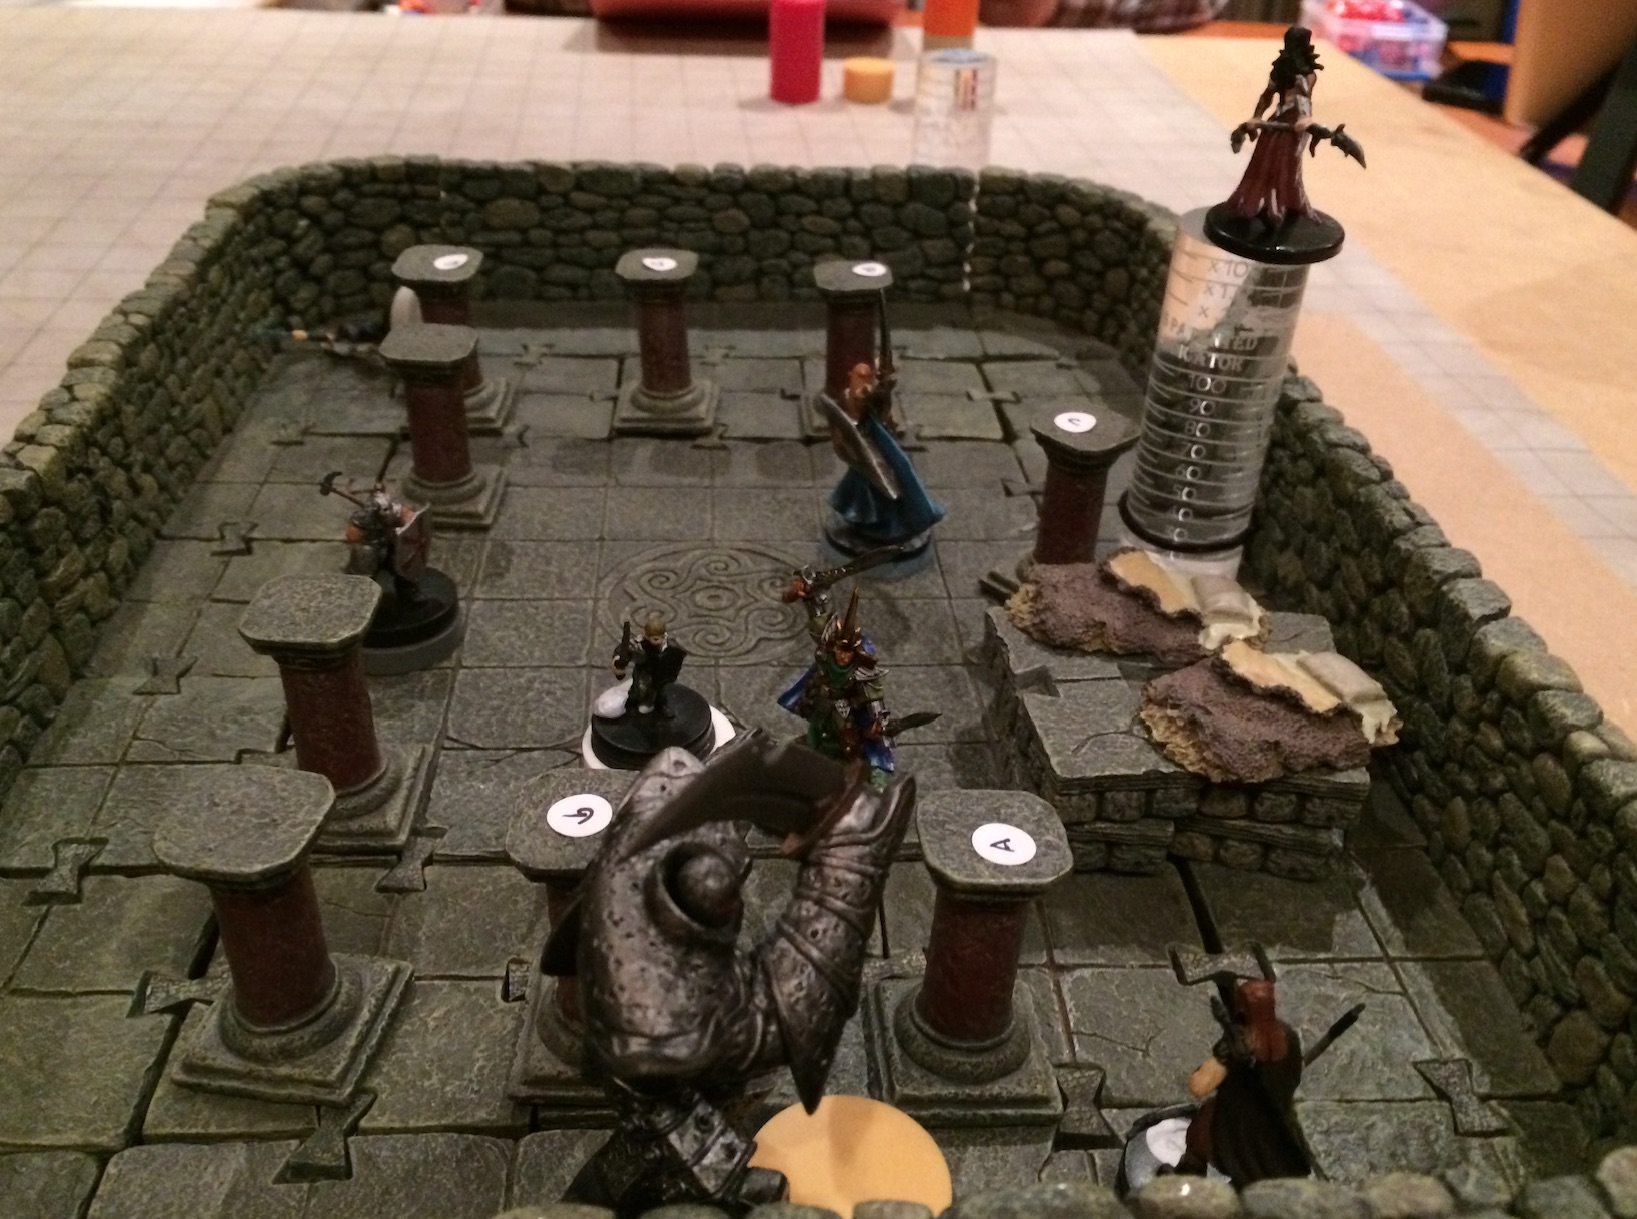
At the end of last session, we left the party in the seven-columned room having activated a teleportation device which had filled an alcove with golden mist.
![]()
Bravely—one at a time—the party passed through the golden mist and were teleported elsewhere. Arriving in a suite of rooms set around a central hexagonal chamber the party looked around. With no obvious exits, their eyes were drawn to two snake mosaics decorating the floor. A wooden post topped with a wheel jutted from each mosaic. After searching for traps, Sarif determined it was safe to experiment and theorised the wheels would move the mosaics. This they did.
Moving the mosaics created a loud grounding sounds, but eventually the two snakes pointed at each other. When they did so, another golden mist formed between the mosaics. Theorising this was another teleportation device the party entered the mist and were instantly transported elsewhere.
The room, they appeared in was a bedroom of sorts. On a large bed against one wall lolled a beautiful, but demonic woman. As she rose to greet the party, Peta used his innate power to detect evil on the woman. He discovered she radiated overwhelming evil. As she continued to greet the party, Peta charged. Thus combat was joined.
The demonic woman took flight as several of the party cloaked themselves in magical protections, and it was lucky they did so as she hurl a fireball into their midst. Luckily, the fireball was not particularly effective and many of the party suffered only minor injuries. Seeing her command of fire magic, Zainnis cast resist energy on Grooble—keeping the cleric alive always being a good tactic.
As the party surged into the room, the woman dropped a confusion spell into their midst, which affected Thaladan, Narfu, Sarif and Zainnis. Thus literally—and figuratively—confusion reigned. As the woman hurled magic fire bolts—ineffectively—at Grooble many of the party started fighting among themselves. When Karelia hasted her companions, the women saw her as a threat. Two devastating bolts of fire followed swiftly thereafter slaying the unfortunate elf outright.
Shock at his companion’s sudden demise sent Peta aloft on the wings of a fly spell to battle the evil woman. In turn, she used a dispel magic to send the paladin back to the floor. However, Grooble was not done and used his wand of fly to send first Sarif and then Thaladan recently recovered from the confusion effect into battle.
With two paladins using their divine power to strike at her, the woman seemed doomed. However, she had obviously cloaked herself in many magical protection as she proved difficult in the extreme to hit. But, persistence is the key to success. Thaladan managed to land a couple of devastating blows on his fiendish adversary. As she seemed almost incapable of injuring the paladin in return—and her sinister mind-controlling powers proved ineffectual against the paladin she was left with no option but to flee using yet more teleportation magic.
With their foe fled, the party turned to finding a way out of the room (and to mourning their fallen companion). Two more snake mosaics decorated the floor, but these had no eyes—although hollows where the eyes once rested were clearly visible. Narfu discovered several amber stones on the bed that fit the holes exactly and when they were installed more golden mist appeared above the mosaic. Unfortunately, Narfu was standing on the mosaic when the mist rose and he was immediately transported elsewhere. Concerned for their companion, the party rushed into the mist.
The mist transported them to yet another chamber. Luckily, this chamber seemed to have no guardians. Even more luckily, it seemed they had discovered the fiend’s treasure chamber. Amid the trinkets, gems and obviously magical items they discovered the object of their quest—the Shard of Lust
Victory was their’s, but at a heavy cost. Although ecstatic they had retrieved the third of the seven shards much blood had been spilt; no fewer than five party members having lost their lives in the quest to retrieve it.
With the shard, the rest of the treasure and Karelia’s body the party returned through the dungeon and out across the marsh to the Mermaid’s Mistress which still bobbed at anchor just offshore. From there, the party set out for Ountsy to find someone willing to raise Karelia from the dead…